Recently, I have been delving into the world of homebrewing. Beer, that is. My brother managed to get pretty much the whole family into it. Add in the regular Brew Day my buddy hosts at his house, and now I'm making beer faster than my wife and I can drink it... Which is probably a good thing.
 My research has led me to a wealth of podcasts, books, magazines, and videos. I think I heard it from John Palmer first, but most seem to agree that these are the three most important things about brewing:
- Sanitation - keep things clean and sanitary. This takes practice and attention to detail, but other than that, there's not much to say about it.
- Yeast health - And quantity. Make a starter or just buy more vials of yeast. Check out this excellent yeast pitching rate calculator. I might make one of these stir plates at some point.
- Control fermentation temperature. This one is hard, particularly in the Sacramento Valley in the summer, so that's what I'm going to solve today.
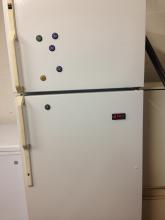
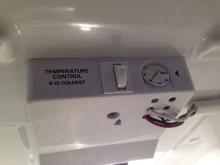
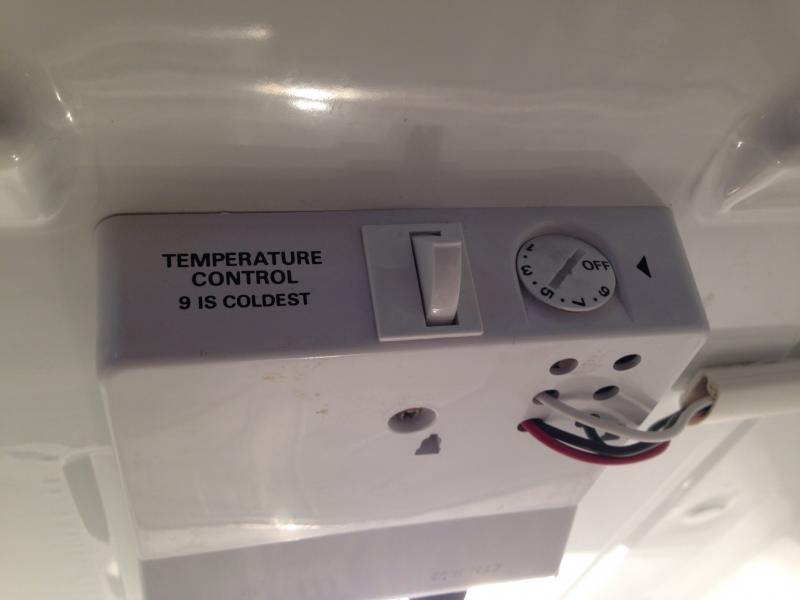
We recently purchased a new refrigerator for the kitchen. The old one (mostly) still works, so I decided to turn it into a fermentation chamber. The temperature controllers built into cheap fridges are not nearly accurate enough for my needs, so I picked up this dual-stage temperature controller (TC). Dual Stage means it can control both a heater and chiller, which might come in handy in the winter since it'll be in the garage. It will also auto-switch between the two.
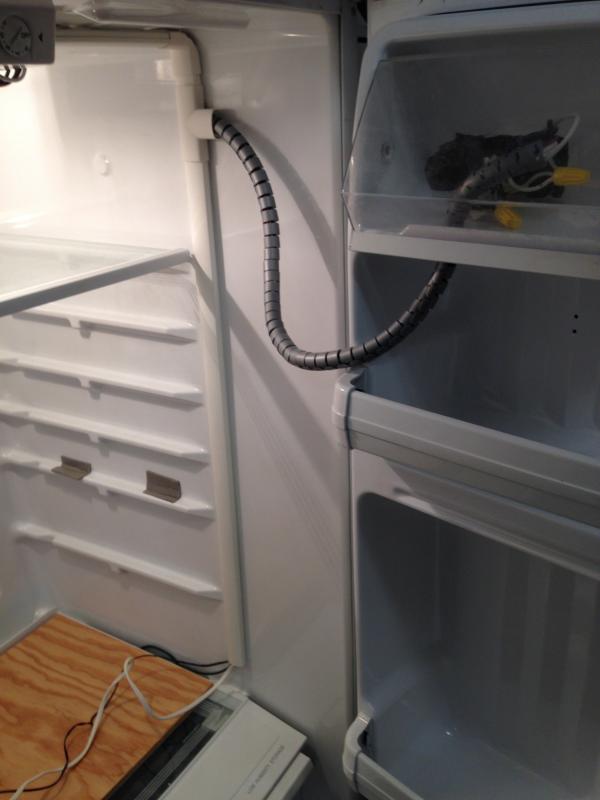
 My goal was to wire the new TC into the existing wiring in the fridge, basically bypassing the crappy built-in TC, and mount the new TC in the fridge door so the digital readout is visible from the outside.
I found the wiring schematics for the fridge and compared them to the wiring directions for the TC. My remedial knowledge of circuits led me to believe that this should work, but I wanted to test it first. Preferably with less voltage. Fortunately, my son has a rather remarkable toy called Snap Circuits, which worked beautifully to model my project. And at only 3 volts, too.
I shot a video demonstrating the finished model:
Now to build the real thing.
Insert standard Darwin Award warning here: Unplug electronics before rewiring. Test contacts and wires with a wire tester before touching them. And for goodness sake, save that beer to reward yourself for FINISHING the project.
TL;DR: If you kill yourself, don't come crying to me.
 Parts:
- Dual-stage Fahrenheit Temperature Controller (similar to STC-1000)
- Wire - I used about 6' of 14-gauge stranded black, white, red, and green wire. Plus another 6' of bulk lamp cord.
- Wire connectors
- Cable management kit and wrapping bands
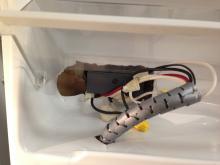
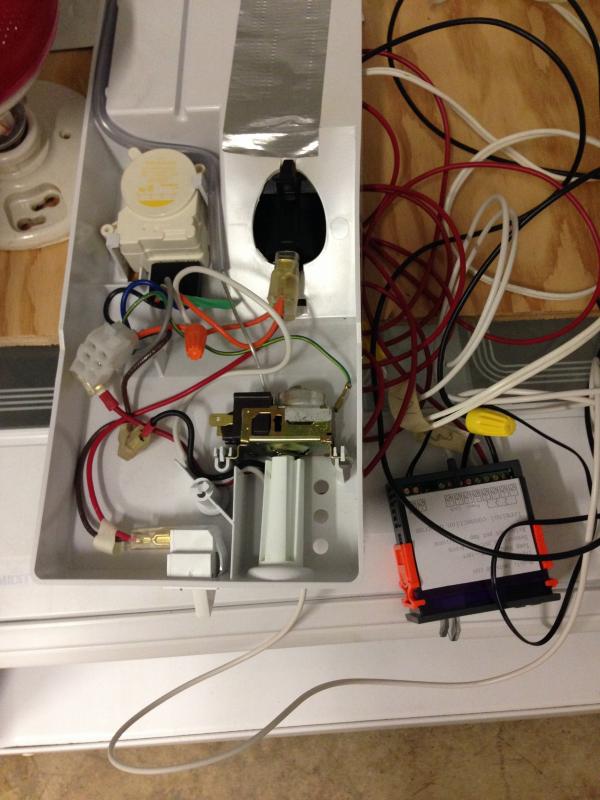
I unscrewed the electronics panel and disconnected it. My fridge's wire colors might be different than yours, so YMMV. Please double-check.
| Type | Fridge Wire | Connecting Wire | TC Terminal |
|---|---|---|---|
| Hot | brown | black | 1 & 5 |
| Neutral | orange | white | 6 |
| Ground | green/yellow | green | N/A |
| Chiller | grey | red | 2 |
| Heater | N/A | ribbed | 3 |
I was pretty astounded when I plugged it all in and everything worked exactly as planned on the first try. See? Doc Brown had the right idea about models. Even if he never had time to build it to scale or paint it.
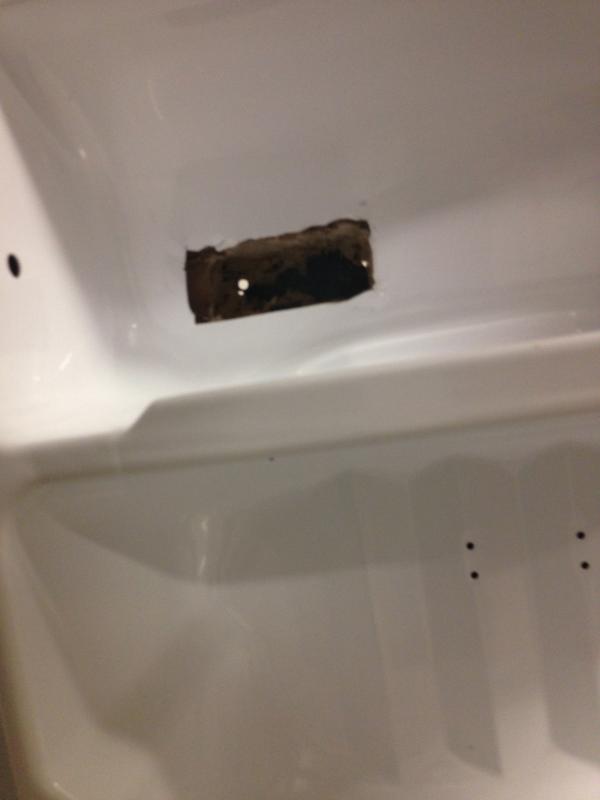
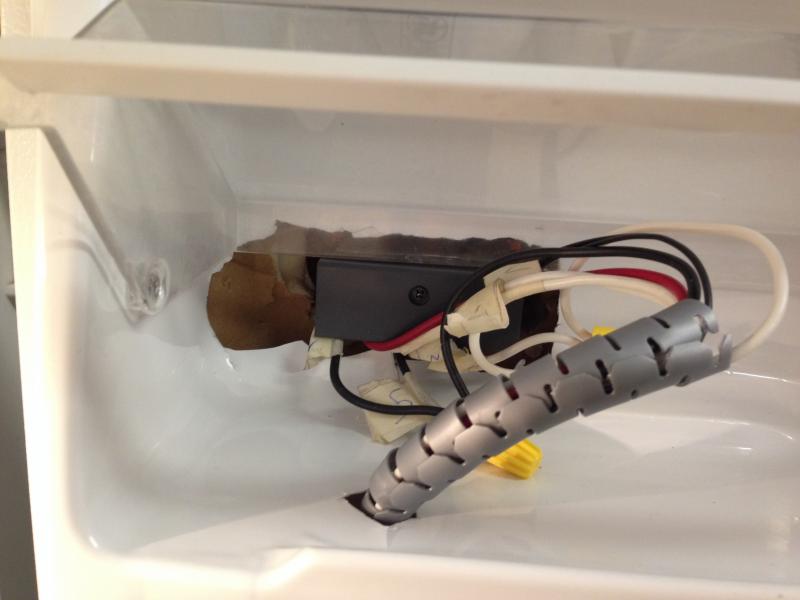
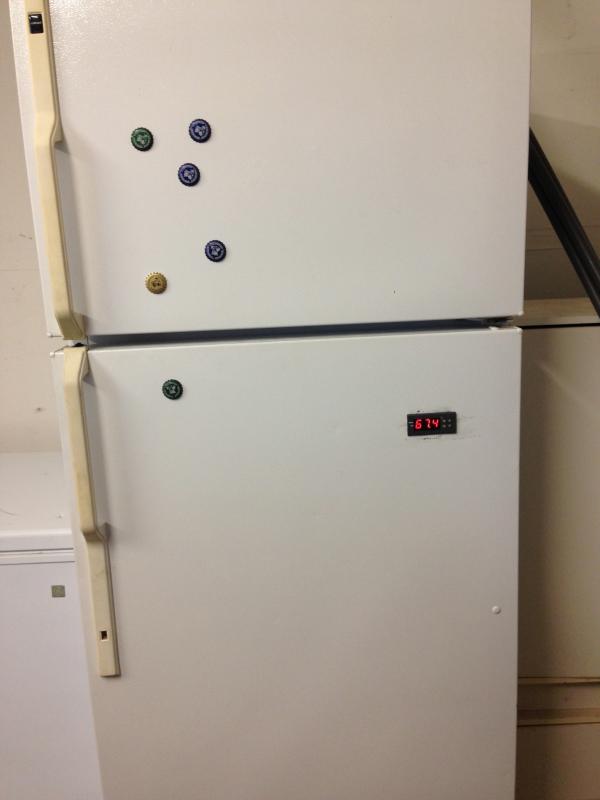
 Unfortunately, the hardest part was yet to come: I had to saw a 2"x4" rectangular hole through the fridge door. I went through several saw blades, and I scraped up the fridge door somethin' awful, but I finally got the TC mounted in there nice and secure.
I'm not satisfied with the heating element yet, but summer's coming, so I probably won't have to worry about it for a while. I'm just using a 40w ceramic terrarium heating element that screws into a light socket.
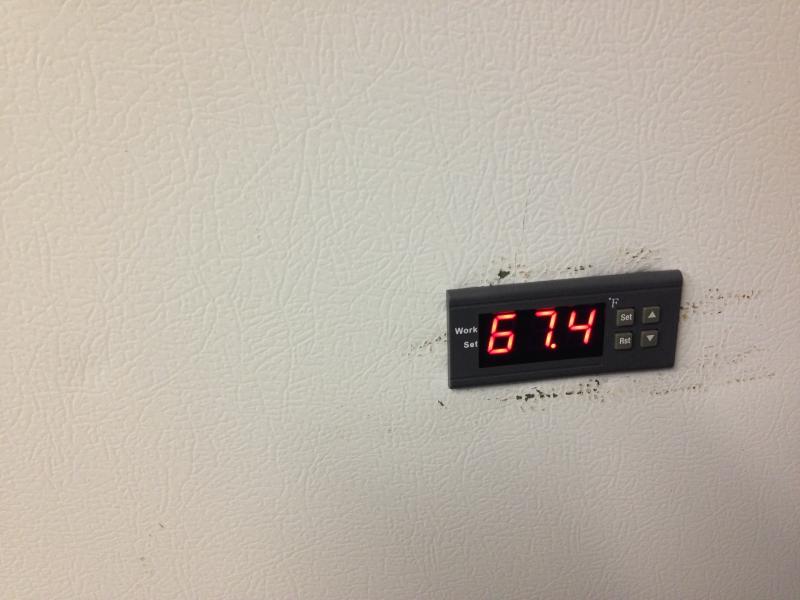
After some testing, I decided to set the TC high and low limits to 2-degrees apart, and set each differential to 1-degree. For example, if desired=67F, set: low=66F, and high=68F. So with 1-degree differential, the chiller will activate at 68F, but won't deactivate until below 67F. If I set them any closer together, the heater and chiller will just bounce back and forth like an expensive game of ping-pong. I was also advised to set the activation delay on the TC to 10 minutes, or as high as it'll go. Compressors really don't like turning on and off a lot.
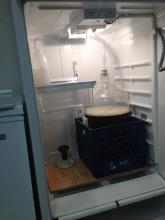
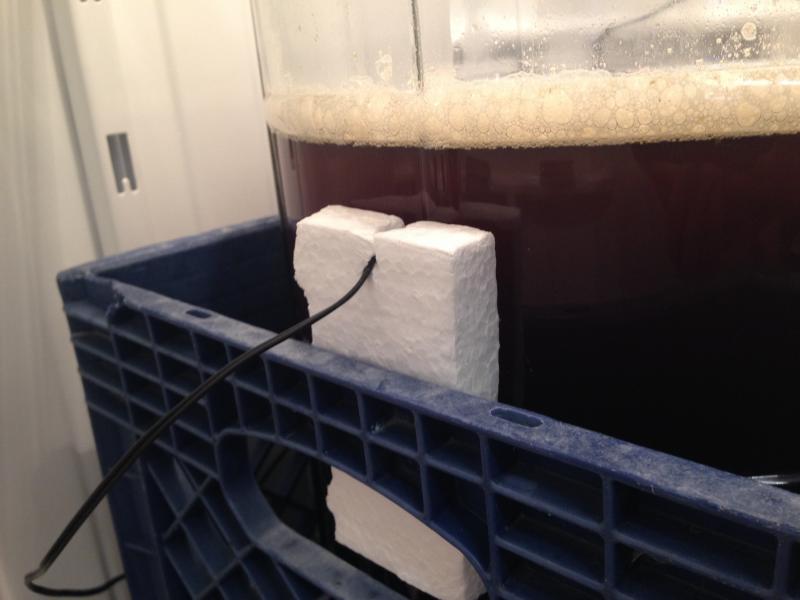
 The TC comes with a sensor probe, which I affixed to the side of the carboy and held it in place with a strip of foam insulation. That way, it's measuring the temperature of the beer, not the ambient temperature in the fridge.
So there you go. This carboy represents my first fermentation adventure using this setup, so I'll let you know how it works out.


Comments
That is awesomely cool! (pun
That is awesomely cool! (pun intended)
Is the first batch going to be ready for happy hour at camp?
More likely
More likely that we drink it all before camp.